


")
By Paul Charlier
Routine inspections and repairs to the sealants on your RV can save you fortunes in the long run.
Maintenance… no one likes doing it, but it’s one of those things that if not done as needed, it will cost you more in the long run.
One of the most neglected maintenance procedures I see in the RV industry is the care of the exterior of your RV, especially the roof! The condition of windows and side moldings can be seen if you are looking, but it’s surprising how many don’t think about the condition of their roof until they notice water on the inside somewhere. Water on the inside of a unit doesn’t always show up right away either. Water can collect and absorb into the wood and insulation eating away your long before you do notice it and by then it’s too late! This can be a substantial and unexpected cost to repair. 
I recommend getting up on your roof at least twice a year (spring and fall) to check on the condition of your sealant. The sun’s UV rays can break down the top sealant which causes surface cracking. This, in turn, dries up the sealant right through to the surface, allowing moisture to start seeping in. Once a little water gets in, it just grows and expands the cracks and the problem gets worse from there.
What type of sealant should you use? Well, definitely nothing from the hardware store! I’ve seen people purchase many different things which, in fact, make the problem worse, as most products they sell are not rated for use in the RV industry. For instance, silicone does not properly adhere to a rubber or newer vinyl roofs, leaving you with nothing but false hope. Also, please stay away from those miracle spray-on sealants you see on TV, unless of course you want to float a boat with a screen bottom!
 Products sold by your local RV parts stores are the only products you should be using. Products like Dicor, Sikaflex, Chemtron, or Geocels Proflex, are a few of the types of sealant that are approved by the manufacturer of your roof membrane. Talk to your local RV parts representative and they can hook you up with the right materials.
Another good idea is to invest in covers like Maxxair vent covers. These not only allow you to leave your vents open in the rain, but they also protect the sealant around those vents from the harmful UV rays of the sun, so these areas typically won’t need resealing nearly as often.
For the sides of your RV such as windows, compartments molding etc., a good quality exterior silicone such as Geocel and Chemtron silicone products are manufactured to be UV resistant and is recommended for this application.
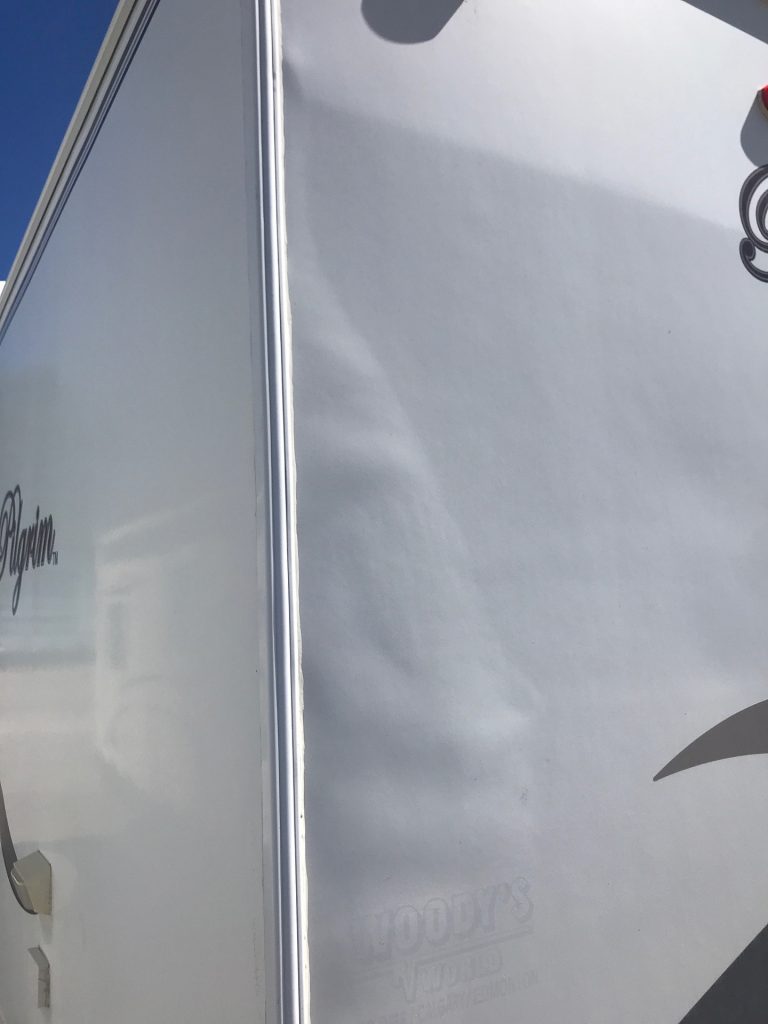
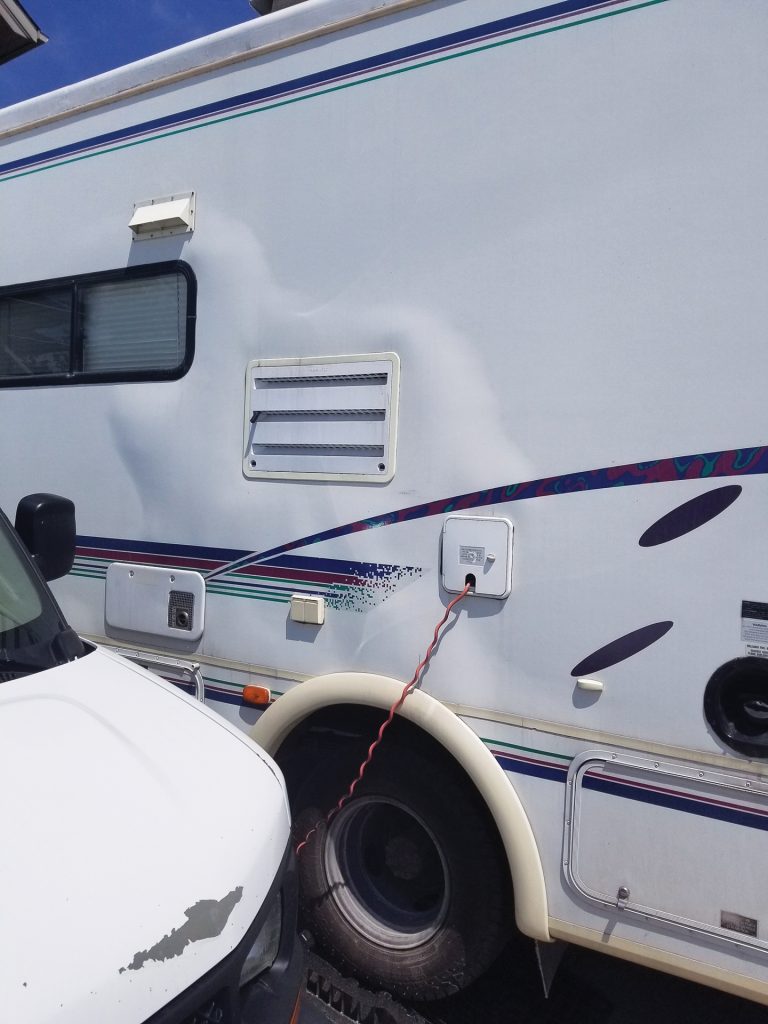 Clean the old sealant off with a plastic scraper so you don’t damage the siding and apply the new sealant. Sometimes on older units, you may need to remove a window, compartment or moldings etc., and clean off the old dried out putty and replace it with a fresh layer to make a proper repair. Be mindful as well, the sides of your RV tend to flex, stretch and twist as you drive down the highway, this can cause older sealant to break away from the windows etc. The older silicone can look ok, but without a proper inspection, you may miss seeing some damage.
Your RV cost you some hard-earned money, so protect your investment and do your due-diligence in keeping it in top condition. Get up on that roof and do a walk around your RV at least twice a year, especially before you put into storage for the long winter nap.
Better yet, have an experienced RV Technician who knows the signs to look for inspect it for you and you’ll have your RV in top condition for a long time.


