


It’s that sad time of year we put our rolling homes to bed for the season.
By Paul Charlier
Some of us aren’t as lucky as others who are able to just leave the cold and head south to warmer temps. Some of us would like to I’m sure but well… there’s that job we need to have!
Winterizing your RV is really much more than draining the water out of the system. Most of us use nontoxic antifreeze and there are some that just use air to blow out the lines.
I’m not a big fan of the air method, to me that method works for lucky people only and eventually your luck can run out. In Calgary this October the majority of us got caught by surprise with a three-week cold snap. Temperatures dipped to -7°C or so overnight and the daytime temps hovered around -1°C to +1°C or so.
Most of us got lucky with next to no damage, but it sure caused a bit of a panic. Out of the 60 plus winterizes I had booked in a very short time (I lost count due to overwhelming phone calls) there were only about five with a broken toilet valve, faucet or water pump. If you are in an area like Calgary where the fall weather can be unpredictable and you still plan on a trip or two, it’s good practice to always make sure you drain your water system this time of year before you park it back into storage after your last trip.
Drain your fresh water tank, drain your water heater and open all of your taps including any outside ones you may have. After your tank drains, turn your water pump on for a couple minutes until there is no water spitting out of the taps. This way if it does consecutively dip down below 0°C for a few days, you are better protected against damages caused by freezing. When water freezes it expands and if you’ve done the above then any water that is in the lines has the room to expand by allowing air to escape.
 Now running Antifreeze through your water system is the best way to assure nothing will be damaged, but the draining method mentioned above is the best way to get you through a surprise cold snap till you can get out camping again as well.
When you are done camping for the season then you will want to get some RV Antifreeze into your unit’s plumbing system as soon as possible. It’s not a difficult procedure but with the way some of these units are built, finding and accessing the water pump and water heater bypass kit can be a bit of a challenge.
What you need to do is drain your water system. To do this, find the back of your water heater on the inside of your trailer, it’s usually behind a removable panel or sometimes around a corner through an access panel in a storage compartment and bypass the water heater. This is done through a valve system your RV came with, there are 1-valve, 2-valve or 3-valve bypass systems out there.
Once that is accomplished you then find your water pump. I usually turn it on for a couple seconds and listen for it. The pump is usually in an interior cabinet or behind a removable panel. Some trailers come with a valve attached to it and a long hose that you would put down into a bottle of antifreeze, you turn the valve so that the pump sucks out of the jug instead of the water tank. If not, then it’s usually pretty simple to unscrew the suction side of the pump and install a temporary hose that any RV dealer should have or can make for you.
After this is complete and with all your taps turned off you can then turn on the pump and then open one tap at a time till the antifreeze comes out. I like to start with the farthest faucet downstream. Do each tap, both hot/cold sides and then move onto the next. Flush your toilet as well till the antifreeze is flowing well and then leave about a cup or more in the bowl to help keep your toilet seal moist over the storage period. Don’t forget your outside shower or outside kitchen that a lot of the newer units have these days.
Next, disconnect the pump line and leave your water heater valves as is until spring. Open all your taps to allow for any expansion that may occur should the temperatures (including the wind-chill) dip below -50°C, as that is the temperature your RV antifreeze should be rated for.
That’s it, you’re almost done. Just wipe up any Antifreeze left in your sinks or shower pan as some brands of antifreeze, usually the cheaper stuff, can stain the plastics. Pour a little Antifreeze down the bath/shower and sink drains to make sure you get enough in the p-traps.
Now that the Antifreeze part is done, I also highly recommend you do a good visual inspection of your roof seals and windows, doors and moldings. If you read my previous article on preventative maintenance in RV Lifestyle 47-4, you will understand why.
You should also think about covering your tires and air conditioner with a custom-made cover. You can purchase these from any RV dealer to provide protection from the harmful UV rays.
I also like to have my RV on an angle to help any snow that melts to run off the roof as quickly as possible so that it can’t pool up and deteriorate the seals on my roof. Just crank the front of the trailer up or down to do this. If you have a pretty good curve on your roof (not flat) then this is probably not necessary.
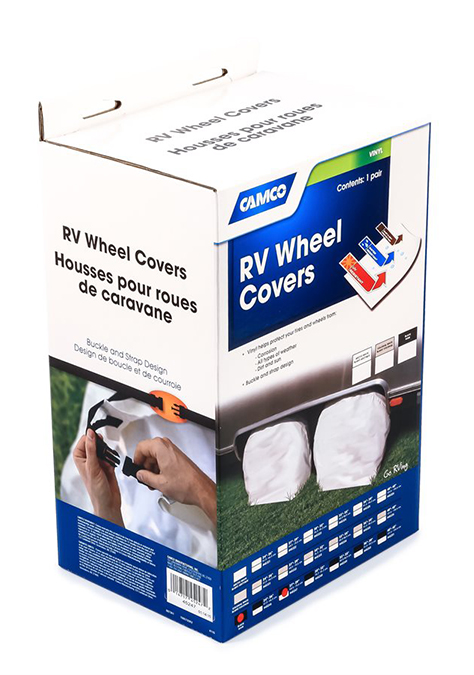
Wheel and Tire Covers
It’s that time of year again where most of us are putting our units to bed for the season. Be sure that it’s protected and tucked in properly for its slumber! Protect your tires from sun, dirt, corrosion and the harmful effects of winter weather with these covers from Camco. The company offers their covers in a variety of sizes to fit a wide range of RVs. Durable and compact, these covers are fitted with buckles and straps for easy installation and removal. Best of all, they’re weatherproof, so you don’t need to worry about the tires through the winter months.
For more information, visit http://www.camco.net/wheel-tire-covers/wheel-tire-protector-covers-27-29-black-vinyl-set-2-bilingual-45247
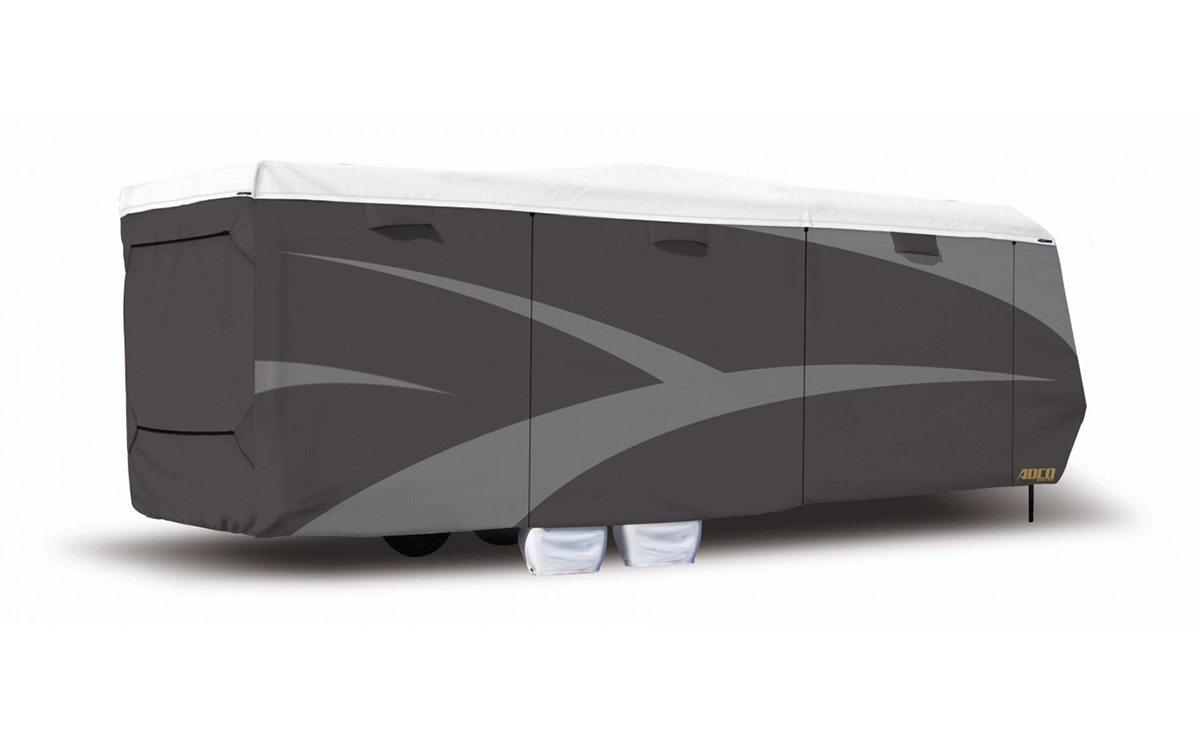 ADCO RV Cover
When winterizing your RV, it is absolutely essential you have a properly fitting cover. ADCO, a division of Covercraft Industries, manufactures a variety of covers: universal and custom fit or roof top covers. This universal cover shown here comes with a triple layer DuPont Tyvek top panel and triple layer designer polypropylene sides. A proper RV cover provides protection against not only the harsh weather, but the harsh sun that causes fading of paint/graphics and cracking of seals on your RV. A cover also helps protect against leaks, as the snow doesn’t just sit on the top of your unit. With reinforced buckles, flaps and straps, chances of your cover tearing are slim, while the built-in vents and breathable material allow air to escape, preventing the mildew building over the winter season.
For more information, and to get an RV Cover that will fit your unit, visit www.adcoprod.com


